
Set up CA Secure
The first time you open CA Secure, it walks you through six steps. Each step shows a red ✗ until it's done, then a green ✓.
- Bluetooth and Nearby Devices (required). CA Secure uses Bluetooth to talk to the doors and elevators around you.
- Location while using the app (required). To know which building or station you're at. Your location never leaves your phone.
- Location all the time (recommended). For arrival features: opening your doors as you arrive, and downloading a building's paths and logo when you get there.
- Notifications (optional). For a reminder when you're near a Contactless Access building, and to show a path is running.
- Anonymous usage data. On to start with: it sends the app's own log so we can fix problems. Tap it to turn it off. You can change it later in Settings › Logging.
- Turn Accessibility features on. Tap the line to choose voice control, high contrast, screen tabs, your phone's text size, sideways use and messages that stay up longer, then tap Done. See Accessibility settings.
Tap Next after each step and Finish at the end. Steps 3 and 4 have a Skip button. If you skip step 3, CA Secure explains what won't work (Limited Functionality); tap Skip Anyway or Go Back.
What you'll see
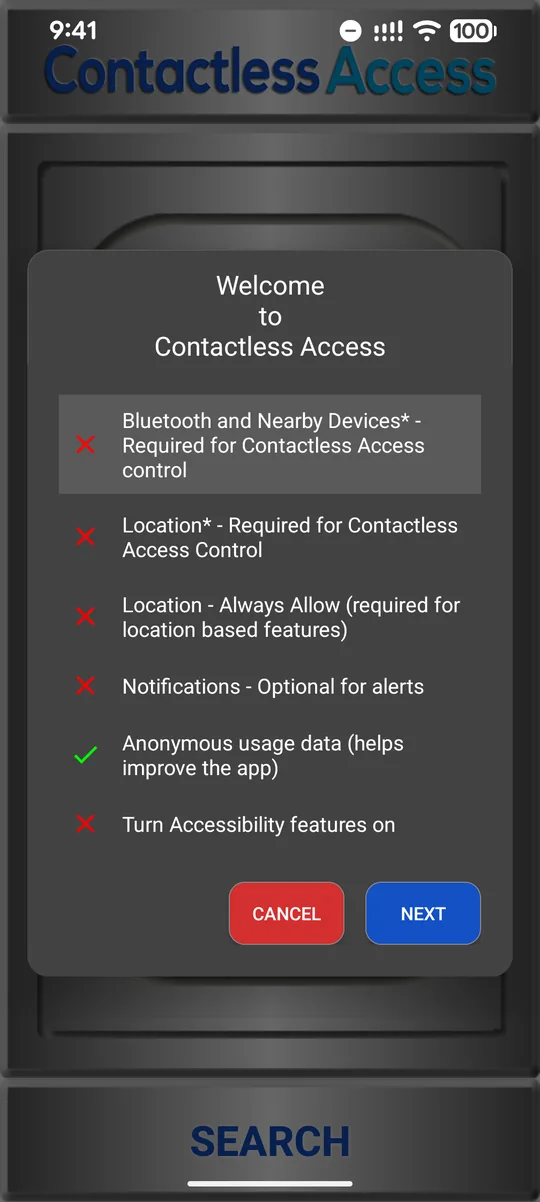
Welcome: the six steps 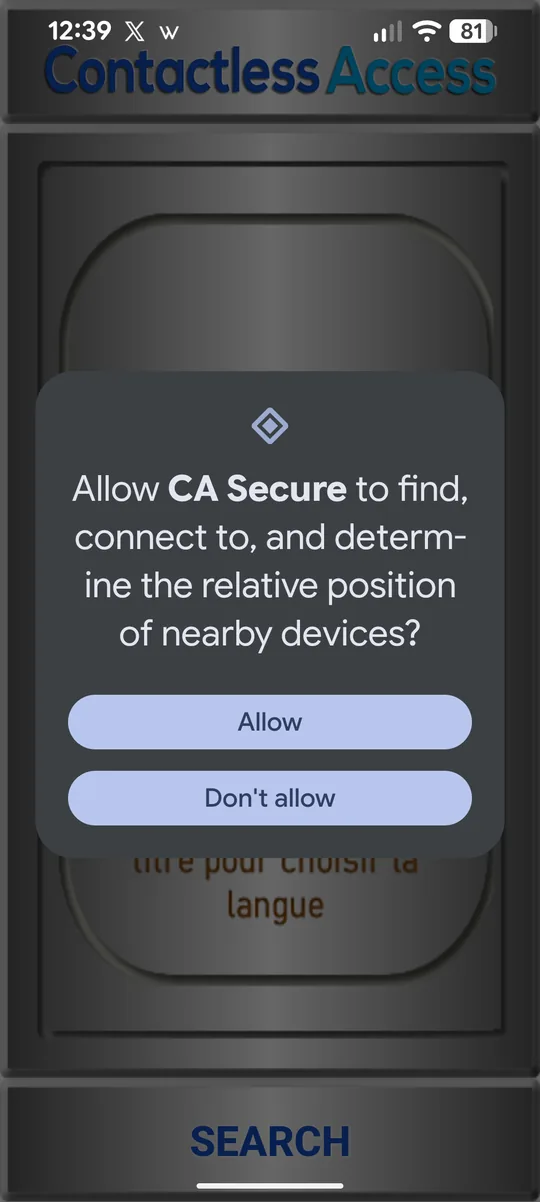
Step 1: tap Allow 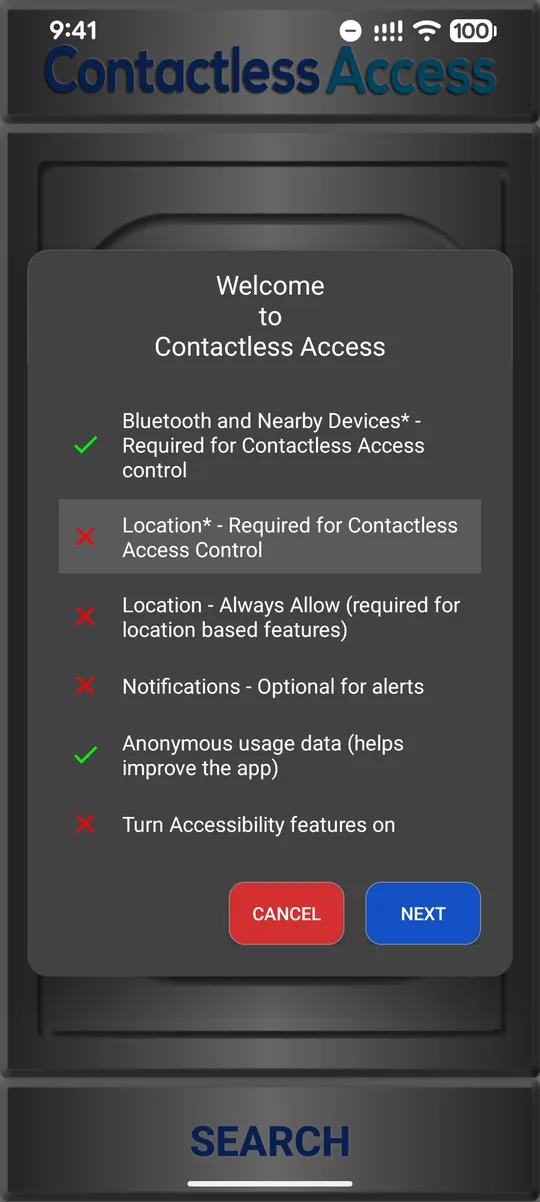
Step 2: location 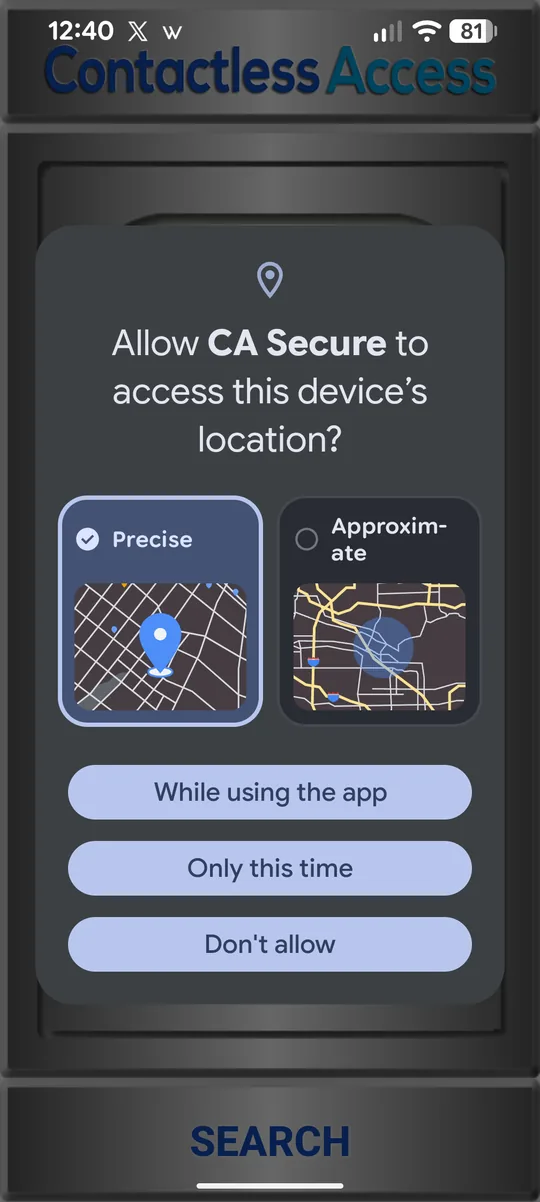
Tap While using the app 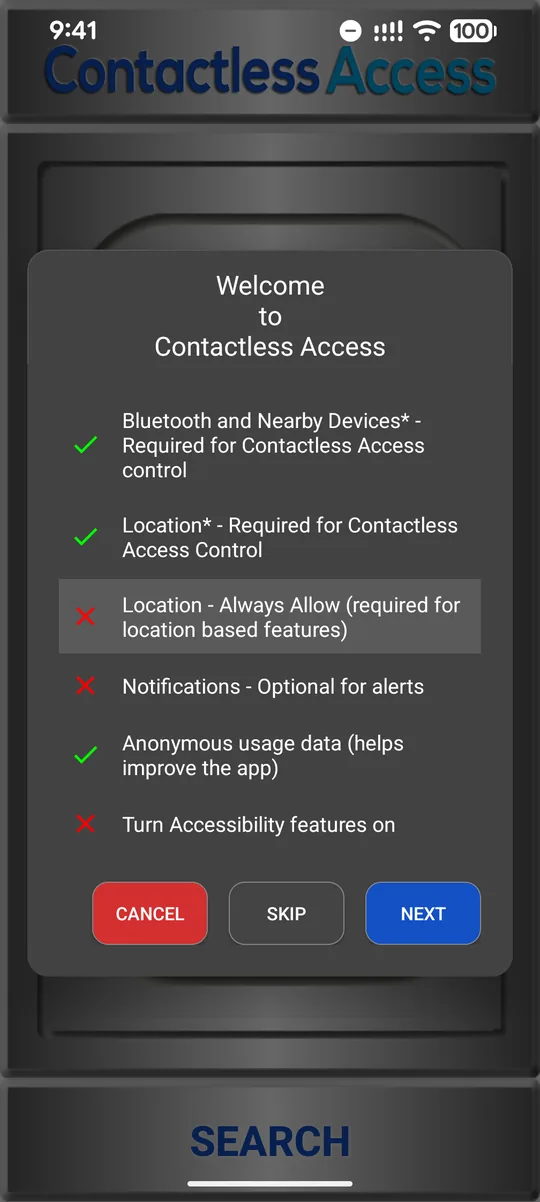
Step 3: location all the time 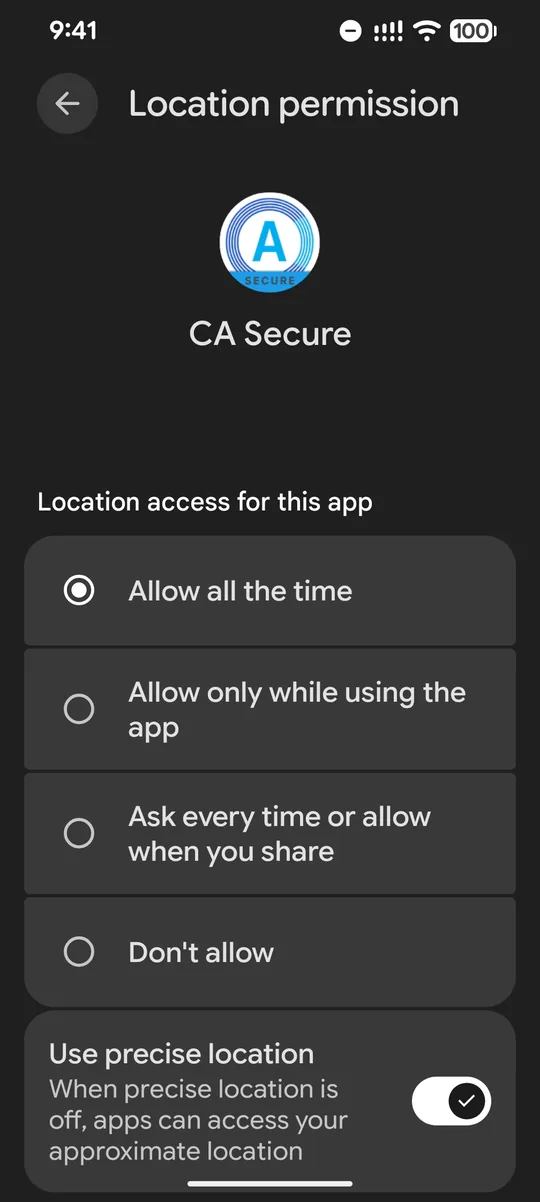
Choose Allow all the time, then go back 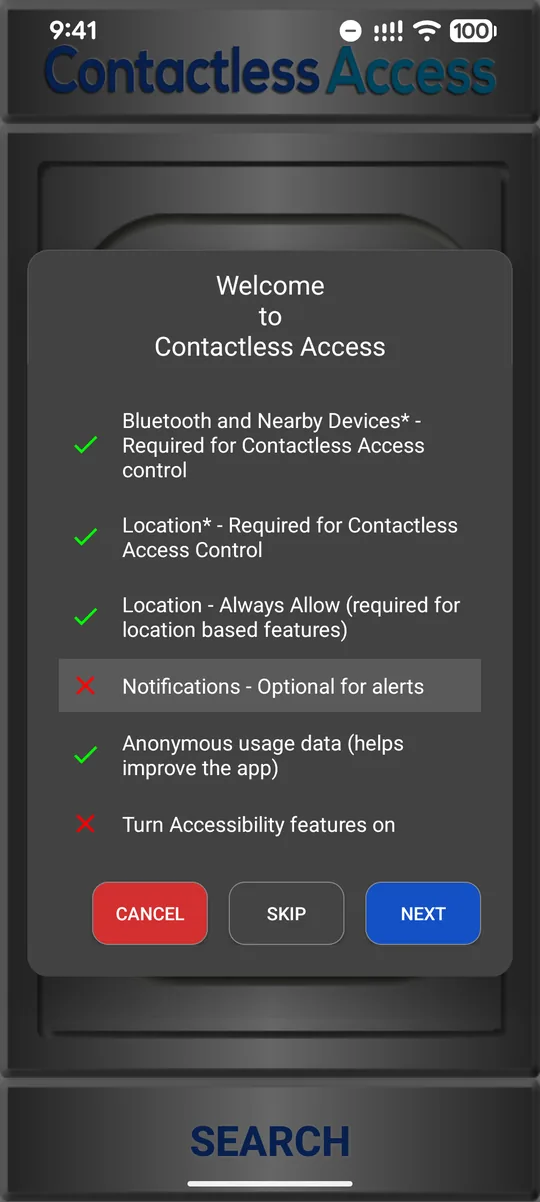
Step 4: notifications 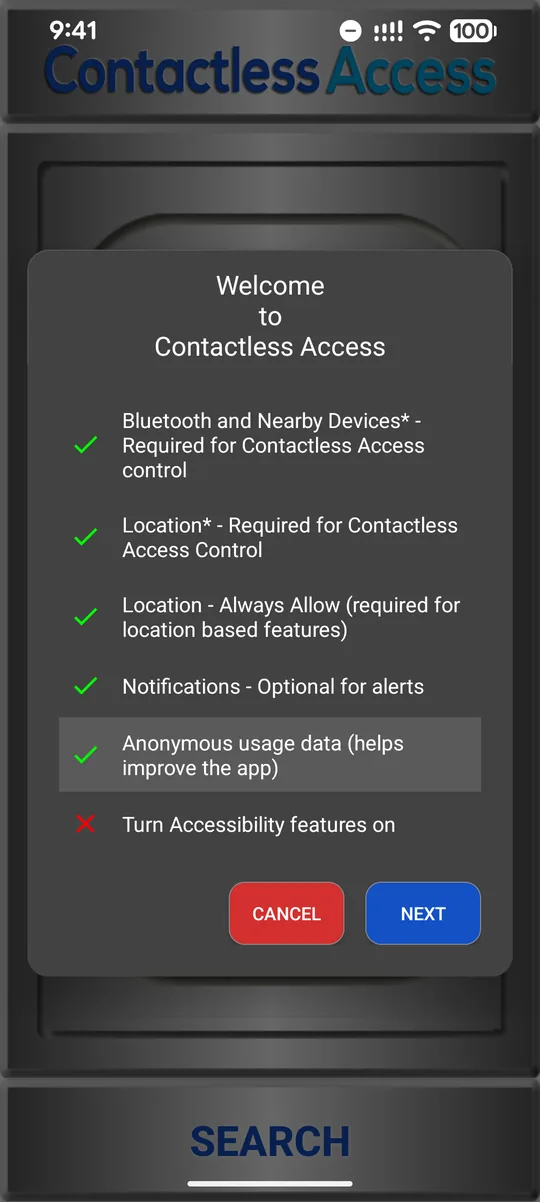
Step 5: usage data, then step 6 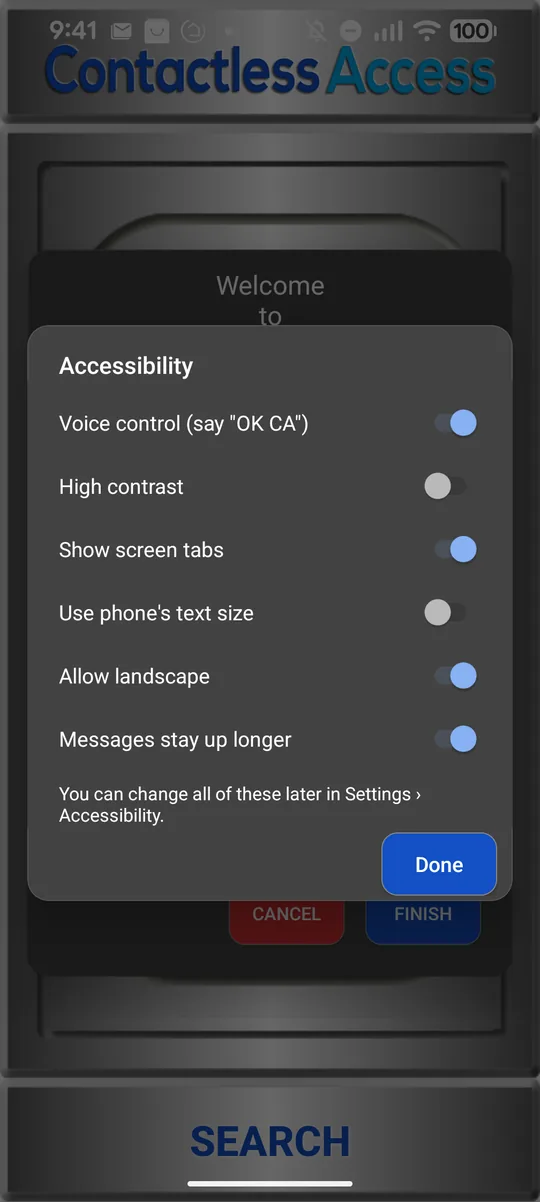
Step 6: choose, tap Done, then Finish
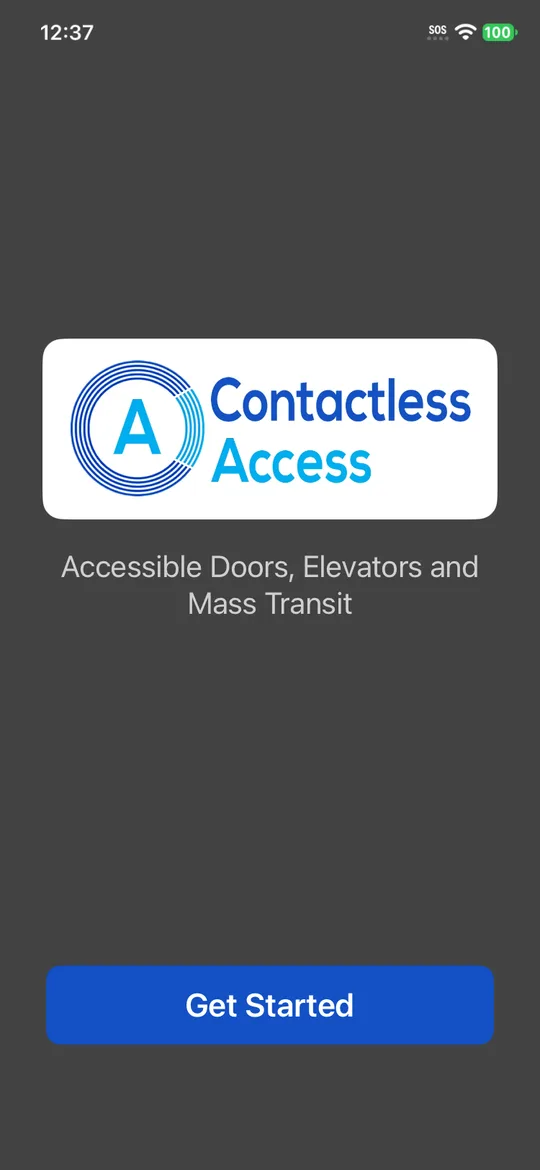
Welcome: tap Get Started 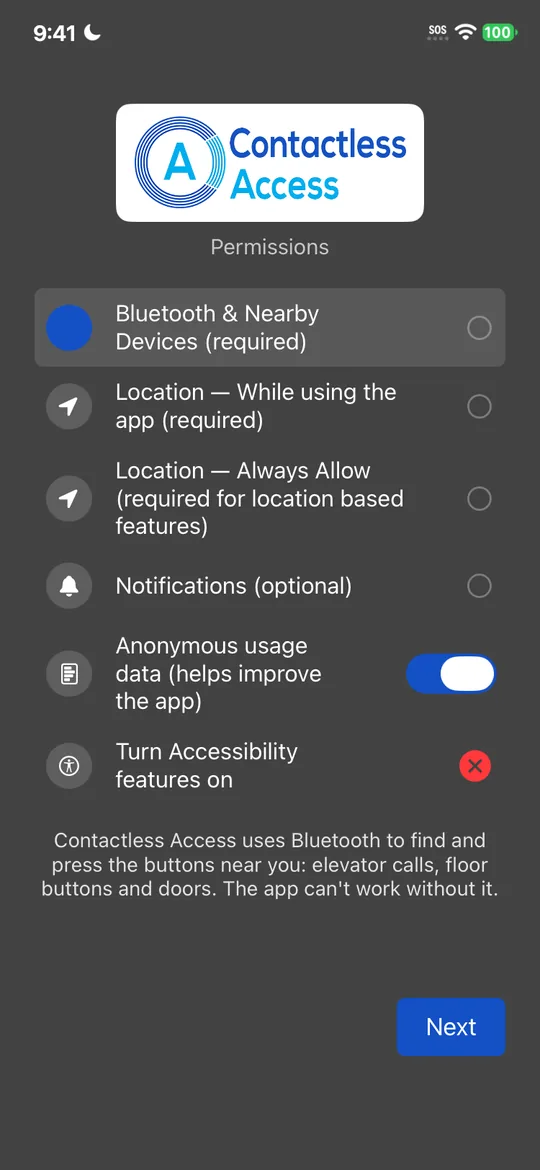
The six steps 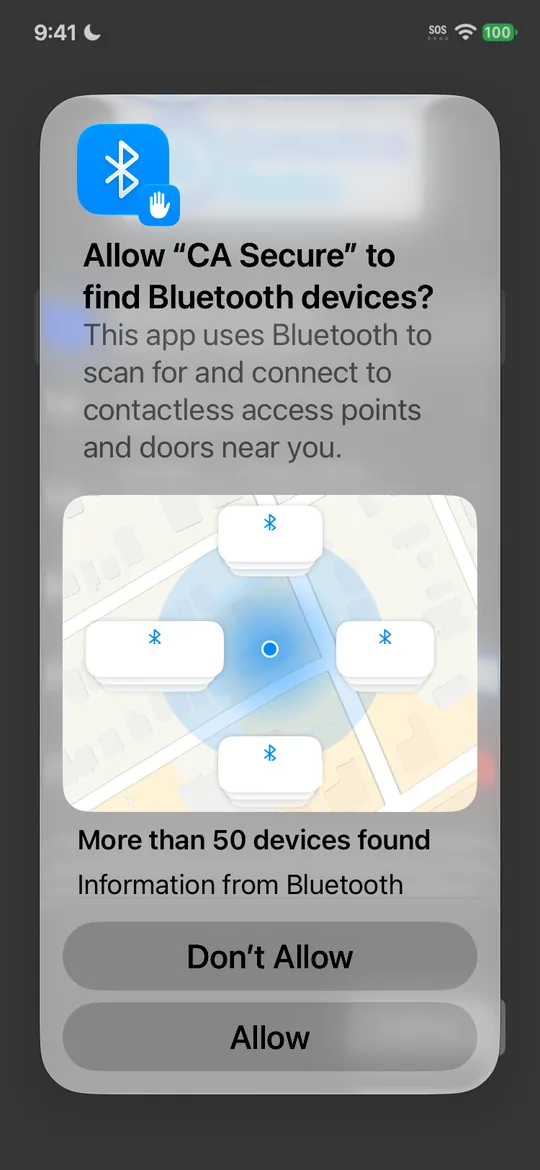
Step 1: tap Allow 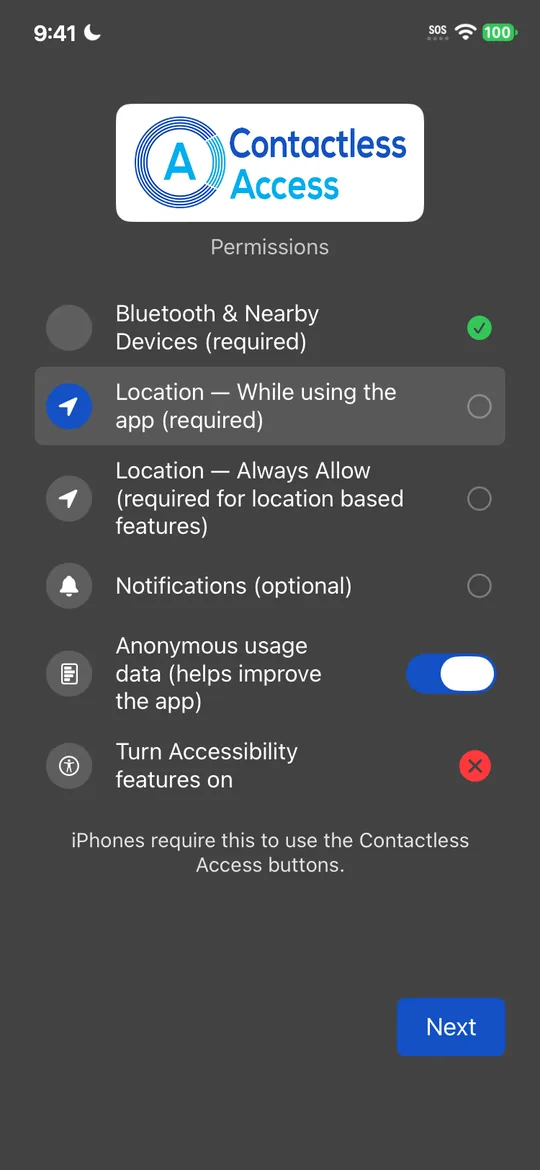
Step 2: location while using the app 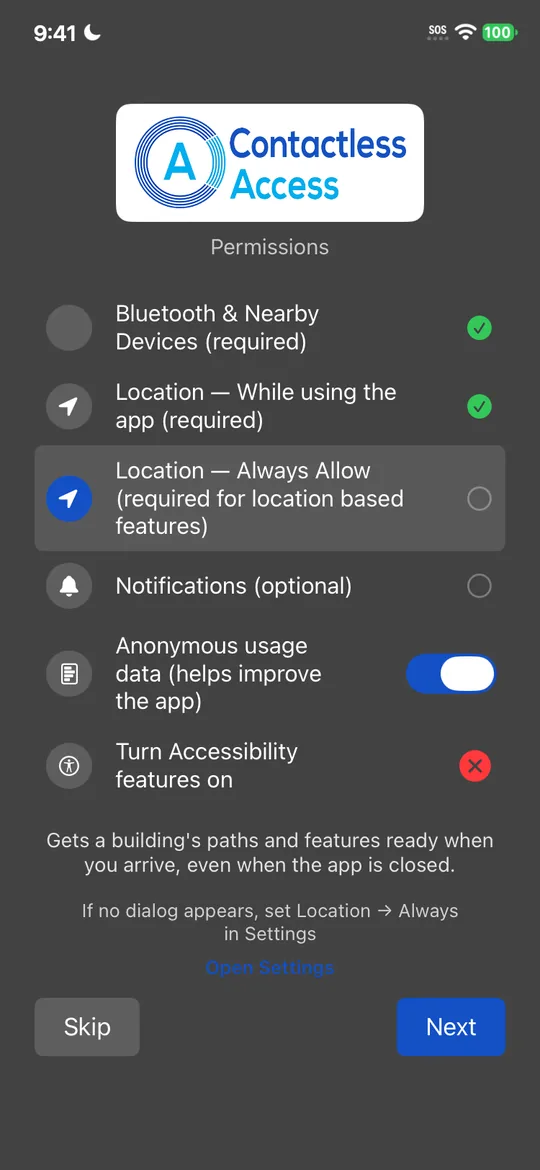
Step 3: location all the time 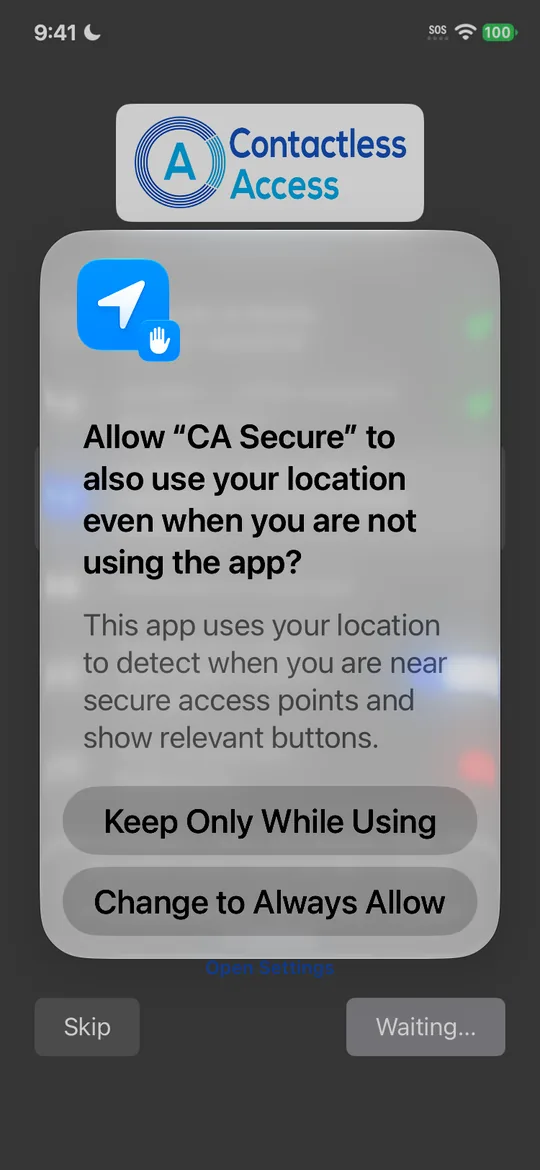
Change to Always Allow 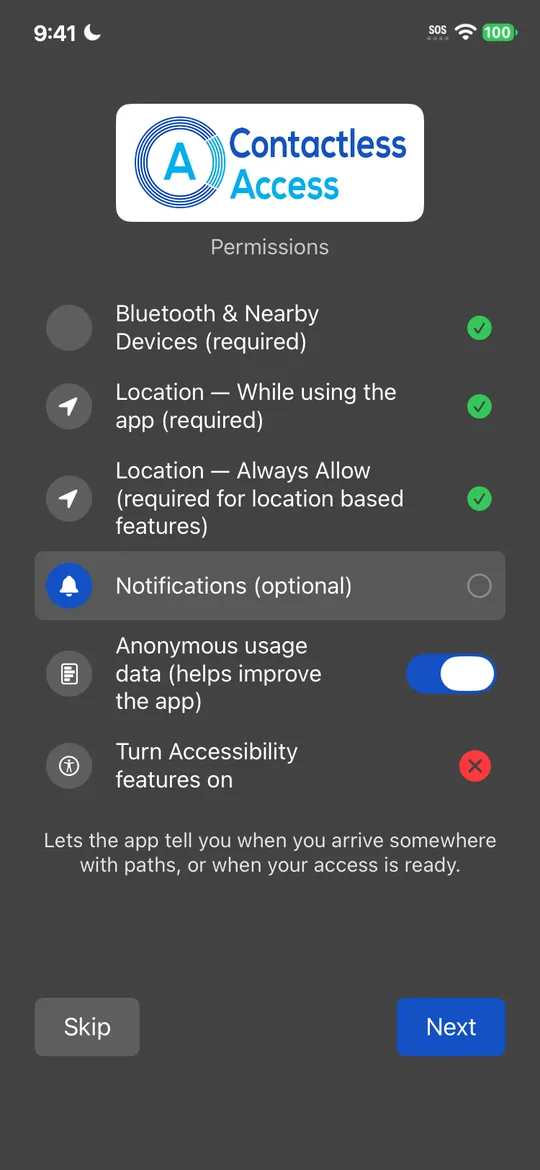
Step 4: notifications 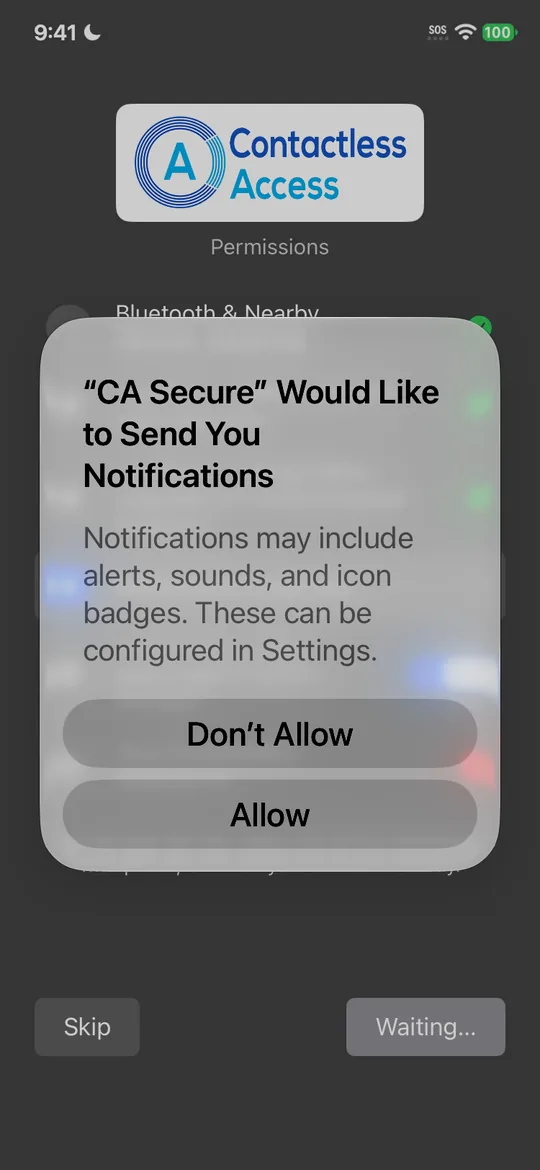
Tap Allow 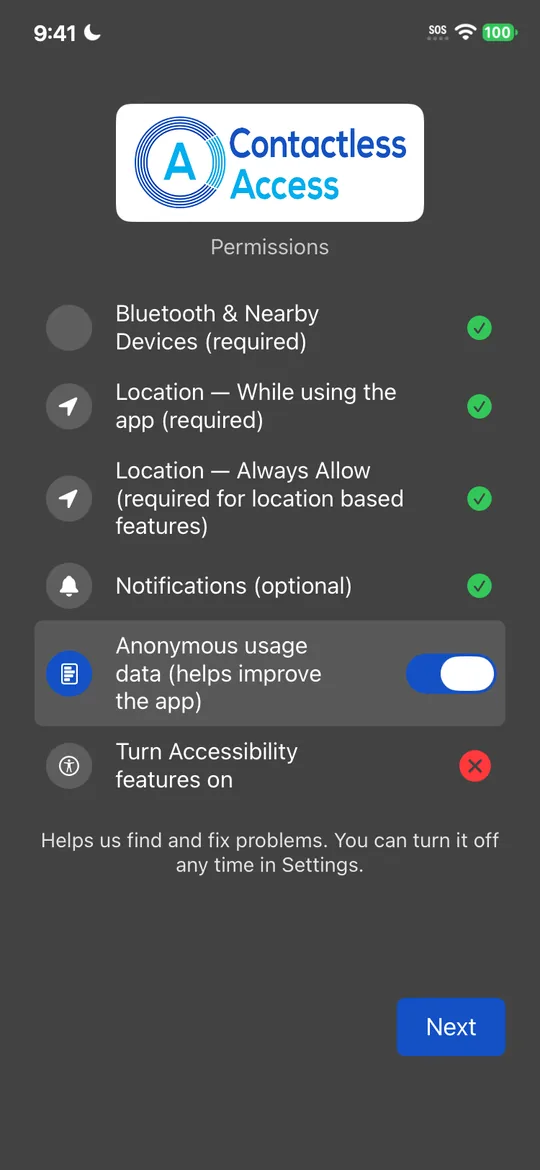
Step 5: usage data 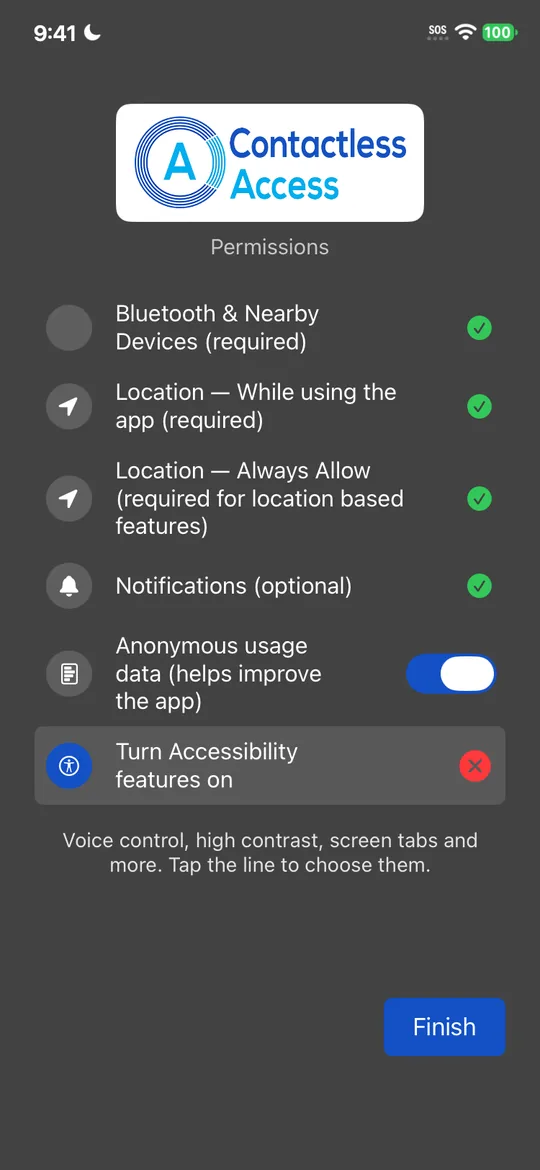
Step 6: tap Turn Accessibility features on 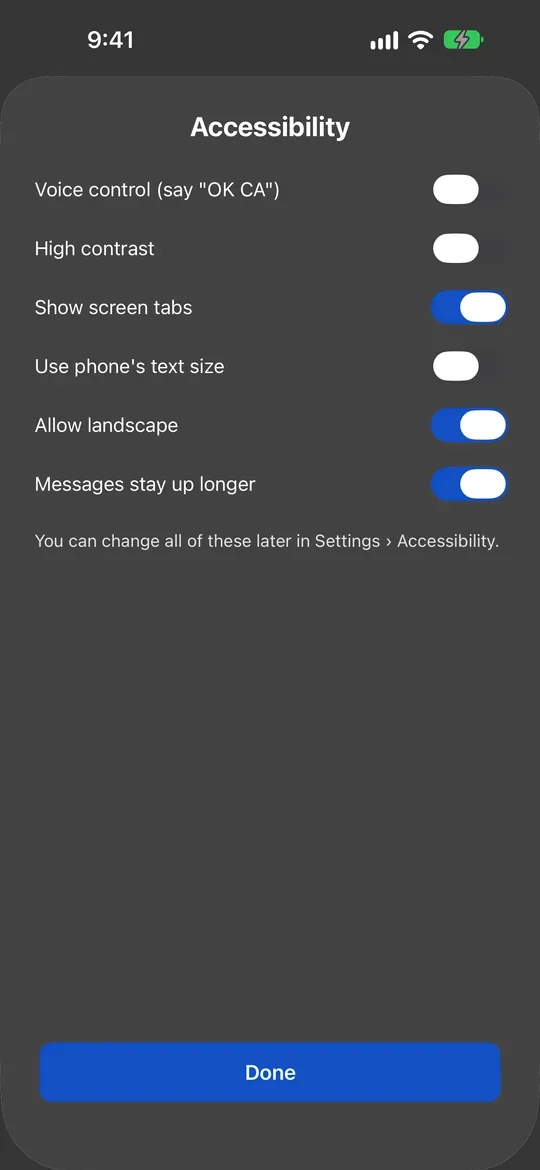
Choose, then tap Done 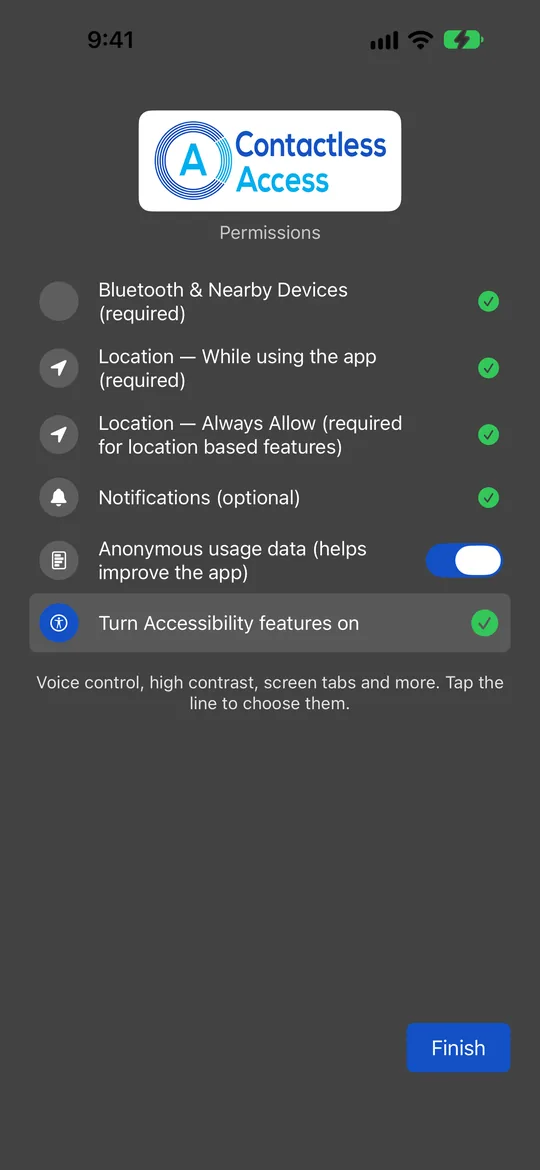
All ticked: tap Finish
CA Secure only asks for other permissions when you use the feature: the microphone when you turn on voice control, the camera when you scan a QR code, and Face ID or your fingerprint for extra-secure doors.
Getting around
Swipe left or right to move between screens. If you'd like a row of tabs with each screen's name at the top, turn on Show screen tabs in Settings › Accessibility.
- Home: the doors and elevators around you.
- Paths: your saved routes.
- Secure: only appears once a building has given you access to a secure door.
- Settings: Language, Data Usage, Accessibility, Logging, and Contact to reach us.
With TalkBack or VoiceOver on, there are also buttons named Go to and the screen's name.
When you're near a building
If you allowed location all the time and notifications, CA Secure tells you when you arrive at a Contactless Access building or station: You're near and the place's name. Tap it to open the app there.
To stop these reminders, turn off notifications for CA Secure in your phone's settings. On Android you can turn off just the Contactless Access Alerts type.
Still stuck?
In CA Secure, open Settings and tap Contact to send us a message, or email info@contactlessaccess.com.